本文共 5151 字,大约阅读时间需要 17 分钟。
一、实验环境
操作系统: CentOS7.5 Mininmal
IP: 192.168.1.104
docker版本:18.06.0-ce
posgres镜像版本:9.6
二、安装docker
关闭selinux
# setenforce 0
# sed -i 's/^SELINUX=.*/SELINUX=permissive/g' /etc/selinux/config
下载docker二进制安装包
# yum -y install wget
# wget https://download.docker.com/linux/static/stable/x86_64/docker-18.06.0-ce.tgz
# tar -zxf docker-18.06.0-ce.tgz
# ll ./docker
# cp ./docker/docker* /usr/bin
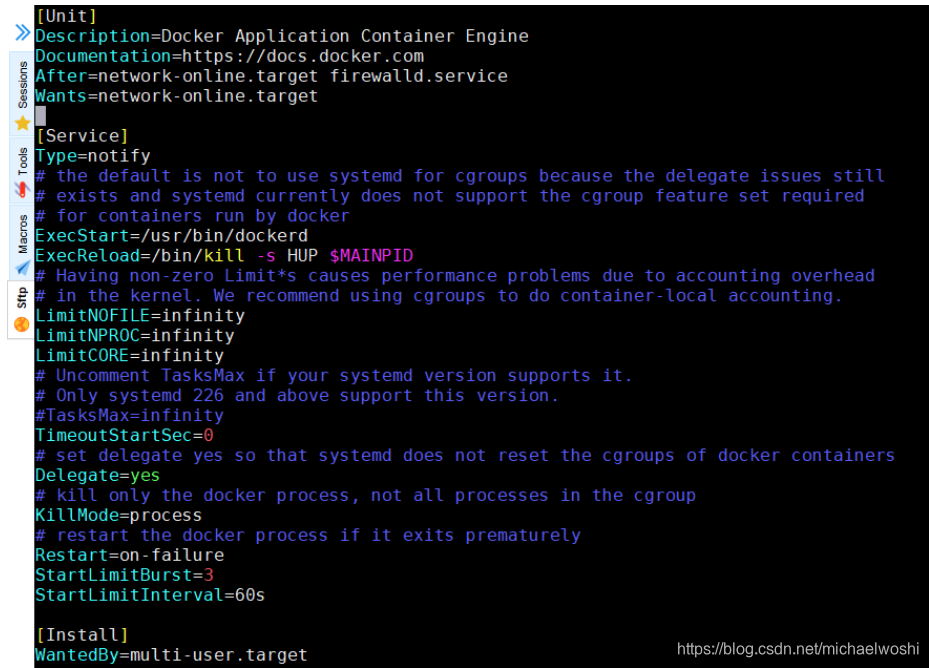
创建docker服务的unit文件
# vim /etc/systemd/system/docker.service
##############################################################
[Unit]
Description=Docker Application Container Engine
Documentation=https://docs.docker.com
After=network-online.target firewalld.service
Wants=network-online.target
[Service]
Type=notify
# the default is not to use systemd for cgroups because the delegate issues still
# exists and systemd currently does not support the cgroup feature set required
# for containers run by docker
ExecStart=/usr/bin/dockerd
ExecReload=/bin/kill -s HUP $MAINPID
# Having non-zero Limit*s causes performance problems due to accounting overhead
# in the kernel. We recommend using cgroups to do container-local accounting.
LimitNOFILE=infinity
LimitNPROC=infinity
LimitCORE=infinity
# Uncomment TasksMax if your systemd version supports it.
# Only systemd 226 and above support this version.
#TasksMax=infinity
TimeoutStartSec=0
# set delegate yes so that systemd does not reset the cgroups of docker containers
Delegate=yes
# kill only the docker process, not all processes in the cgroup
KillMode=process
# restart the docker process if it exits prematurely
Restart=on-failure
StartLimitBurst=3
StartLimitInterval=60s
[Install]
WantedBy=multi-user.target
##############################################

启动docker服务,设置开机自启
# systemctl daemon-reload
# systemctl start docker
# systemctl status docker
# systemctl enable docker
# docker info
# docker version
设置镜像加速
# curl -sSL https://get.daocloud.io/daotools/set_mirror.sh | sh -s http://f1361db2.m.daocloud.io
# systemctl restart docker
三、初始化Postgres
拉取postgre 9.6 版本镜像
# docker pull postgres:9.6
# docker images
# docker run -it --rm postgres:9.6 cat /etc/issue
# docker run -it --rm postgres:9.6 cat /etc/passwd
创建postgres数据存储目录
# mkdir -p /var/lib/postgresql/data
创建postgres容器
# docker run -it \
--name postgres \
-e POSTGRES_USER="postgres" \
-e POSTGRES_DB="postgres" \
-e POSTGRES_PASSWORD="Postgres@123" \
-v /var/lib/postgresql/data:/var/lib/postgresql/data \
-p 5432:5432 \
postgres:9.6

此处容器创建我们用到了几个环境变量:
-e POSTGRES_USER="postgres"
-e POSTGRES_DB="postgres"
-e POSTGRES_PASSWORD="Postgres@123"
表示创建一个数据库管理员用户 postgres,初始库为postgres,密码设置为Postgres@123
更多环境变量参考官方文档:https://docs.docker.com/samples/library/postgres
# docker ps -a
# ss -tan | grep 5432
开放相关端口
# firewall-cmd --zone=public --add-port=5432/tcp --permanent
# firewall-cmd --reload
命令行登录数据库
# docker exec -it -u postgres postgres bash
$ id
$ psql
postgres=# \l

创建的数据库,默认开放的用户的远程登录

查看初始化的生成的数据库目录下数据
# ll /var/lib/postgresql/
# ll /var/lib/postgresql/data/

可以看出,我们创建的postgres的生成的持久化存储的文件中包括了postgres的配置文件:
/var/lib/postgresql/data/postgresql.conf
/var/lib/postgresql/data/pg_hba.conf
/var/lib/postgresql/data/pg_ident.conf
如果需做相关配置变更,更改相应的文件,重启服务生效。
四、将postgres服务注册成系统服务
删掉初始化容器
# docker stoppostgres
# docker rm postgres
创建postgres的systemd Unit文件
# vim /etc/systemd/system/postgres.service
#######################################################
[Unit]
Description=Postgres Server
After=network-online.target docker.service
Requires=docker.service
[Service]
ExecStartPre=-/usr/bin/docker rm -f postgres
ExecStart=/usr/bin/docker run \
--name postgres \
-p 5432:5432 \
-v /var/lib/postgresql/data:/var/lib/postgresql/data \
postgres:9.6
ExecStop=/usr/bin/docker stop postgres
LimitNOFILE=65535
Restart=on-failure
StartLimitBurst=3
StartLimitInterval=60s
[Install]
WantedBy=multi-user.target
########################################################

你应该注意到了,Unit文件中,docker run的参数中并不需要初始化那会的环境变量了
因为初始化时已持久化存储在数据库目录中了,启动时会去读取,不用再以明文形式写入文件,增强了安全性!
重新启动服务
# systemctl daemon-reload
# systemctl start postgres
# systemctl status postgres
# systemctl enable postgres

五、网页版postgreSQL数据库管理工具
是一个非常流行、功能强大并且开源的 PostgreSQL 管理与开发平台。pgAdmin 支持 Linux、Unix、Mac OS X 以及 Windows 操作系统,可以管理 PostgreSQL 9.2 以及更高版本。
pgAdmin 4 (Windows)
https://www.pgadmin.org/download/pgadmin-4-windows
http://127.0.0.1:59484/browser/#

pgAdmin 支持多语言界面,默认为英语。
我们将其改为中文界面,点击“File”下拉菜单,选择“Preferences”,找到左侧列表中的“miscellaneous” -> “User language”,然后在右侧下拉列表中选项“Chinese (Simplified)”。
最后点击“Save”保存设置,需要重新打开或者刷新浏览器才能生效
六、参考
postgreshttps://docs.docker.com/samples/library/postgres
【Docker】CentOS7.x上docker的安装方式
https://www.jianshu.com/p/d1a07a13a76f
【Docker&MySQL】CentOS7.x上容器部署MySQL
https://www.jianshu.com/p/c74b1d2d8ad4
Dockerfile to build a PostgreSQL container image which can be linked to other containers
https://github.com/sameersbn/docker-postgresql
命令行方式登录PostgreSQL
https://www.cnblogs.com/xxfcz/p/6483892.html
PostgreSQL 管理工具之 pgAdmin
https://blog.csdn.net/horses/article/details/90665711
PostgreSQL pg_hba.conf 文件简析
https://www.cnblogs.com/hiloves/archive/2011/08/20/2147043.html
PostgreSQL pg_ident.conf 文件简析
https://www.cnblogs.com/hiloves/archive/2011/08/24/2152144.html